Range Rover Overland camper build diary : part 3
So now it is coming together , we can smell the finish.
haha not likely , the slow slog is about to begin
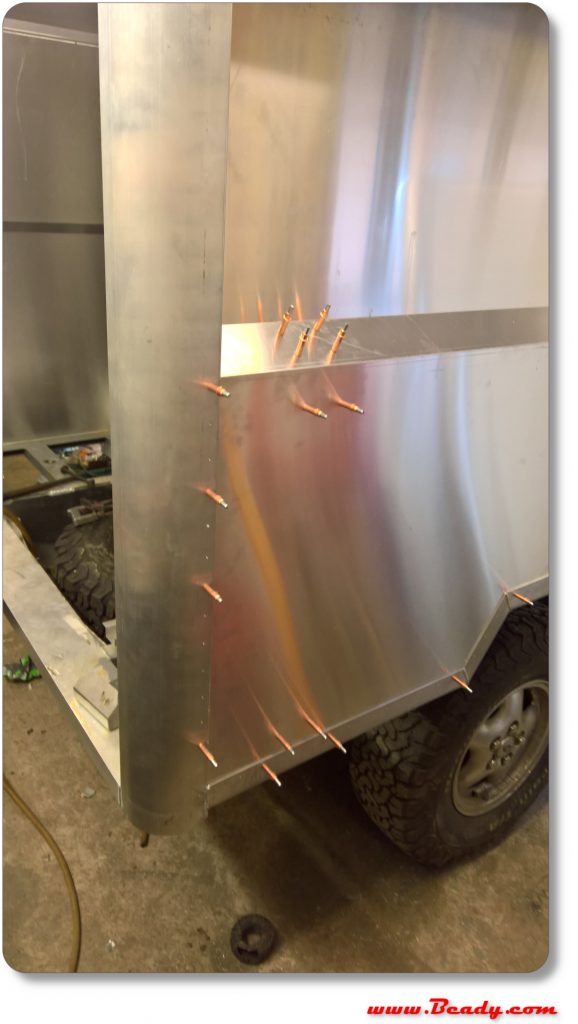
1200 airplane rivets drilled , reamed and countersunk
who’s idea was this … oh yes it was my idea. .great crack on then

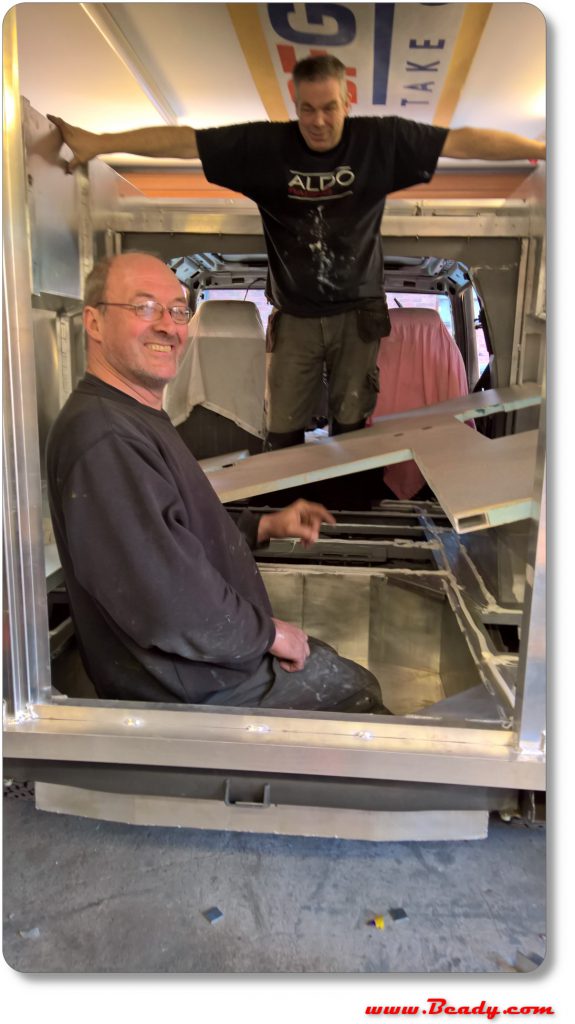
the guilty people of doing this..
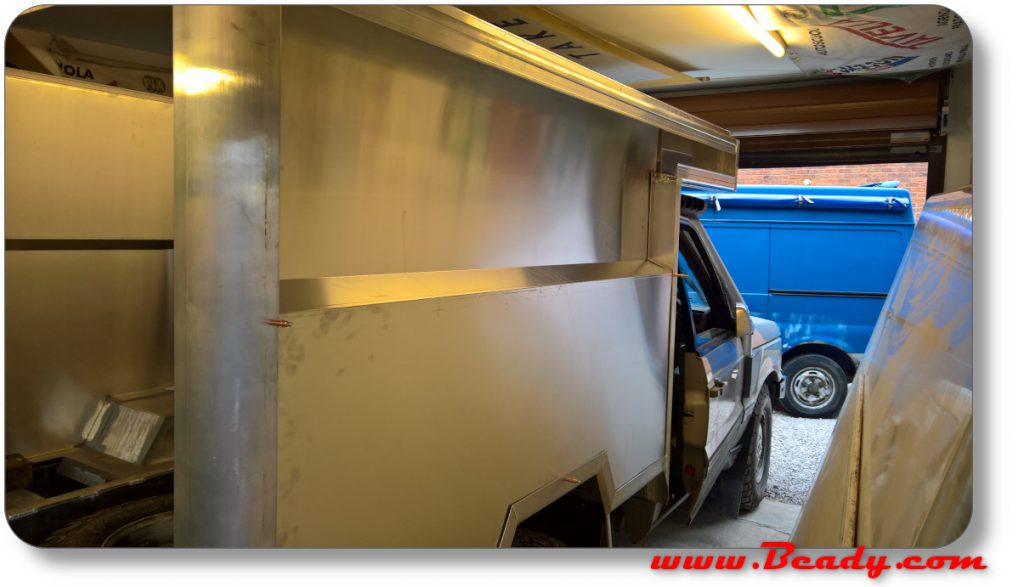
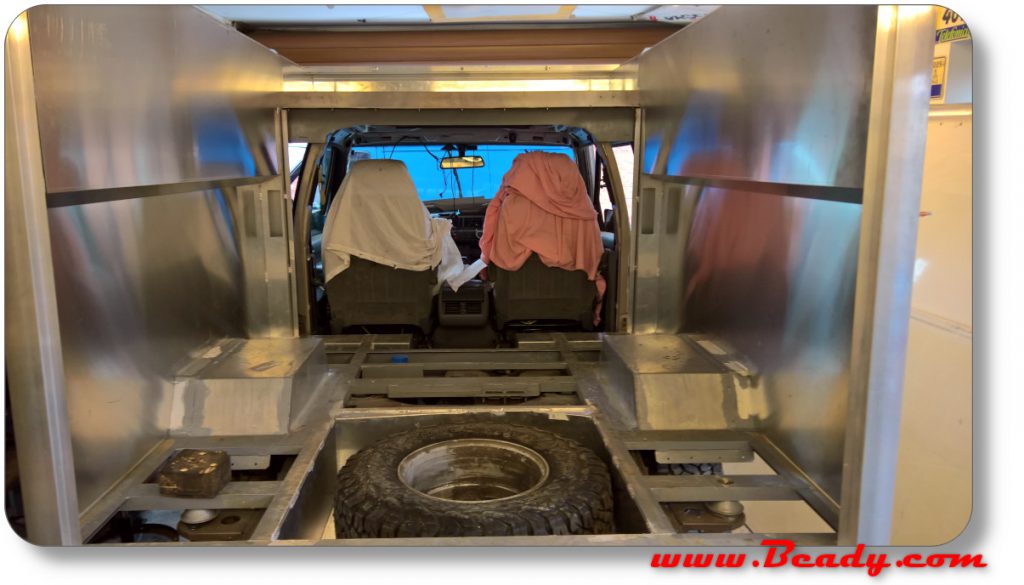
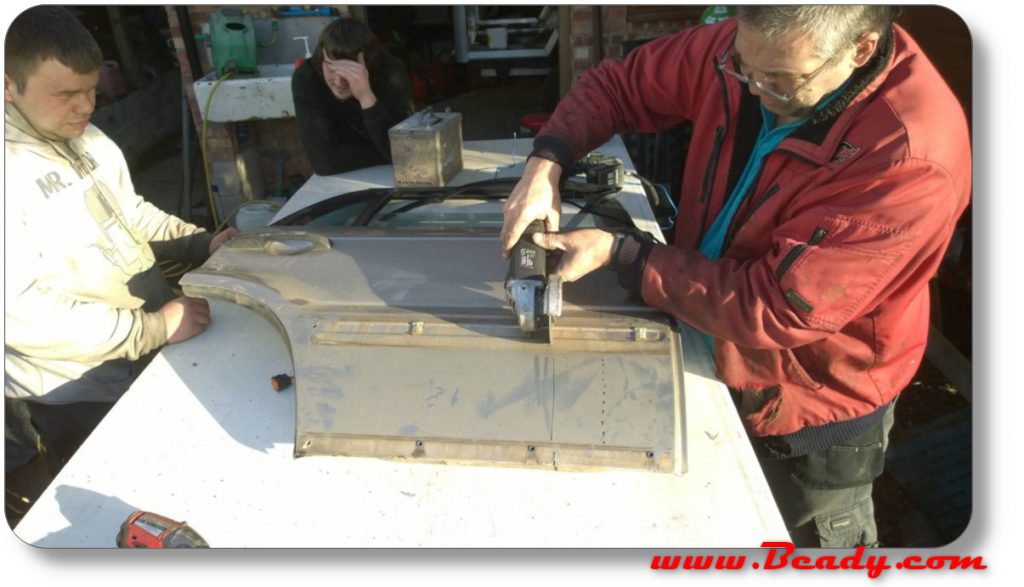
The old rear doors were cut up to make fillet panels from the OEM to the new rear, pro style, actually better than pro, we know we have seen the competition at work,
notice Rory helping and Alex trying to ignore the hard work going on nearby
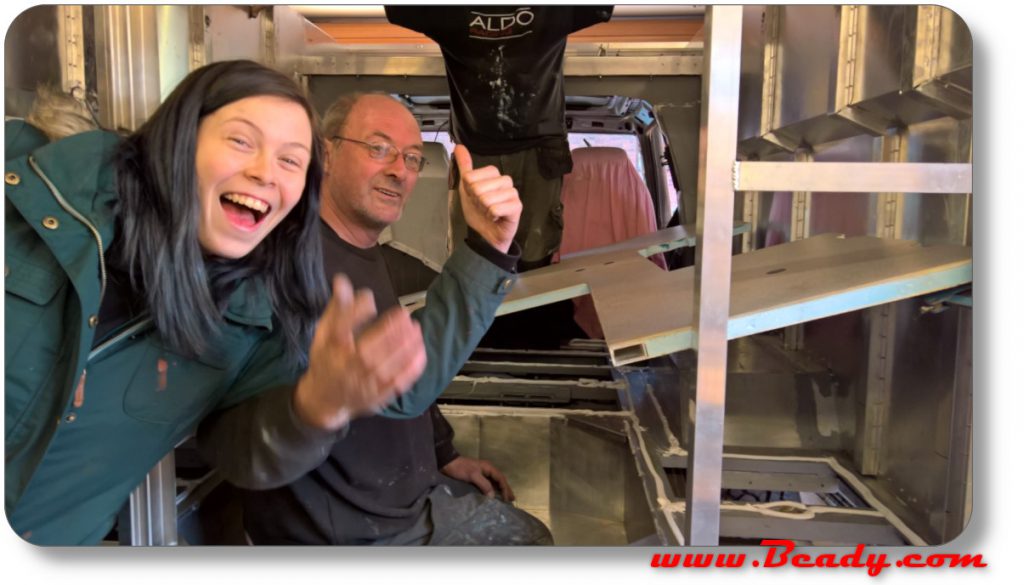
and zoe helping to fit the floor
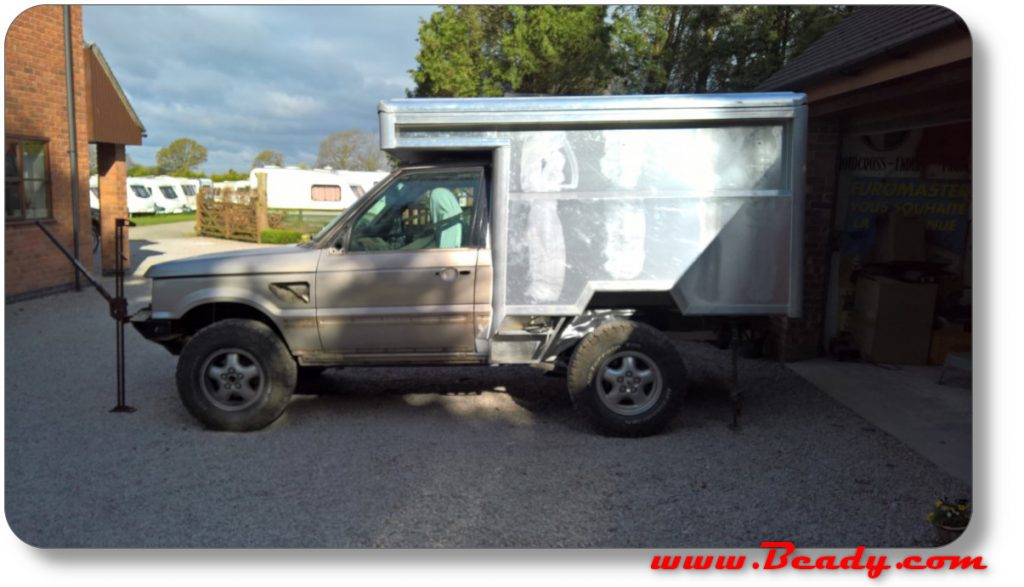
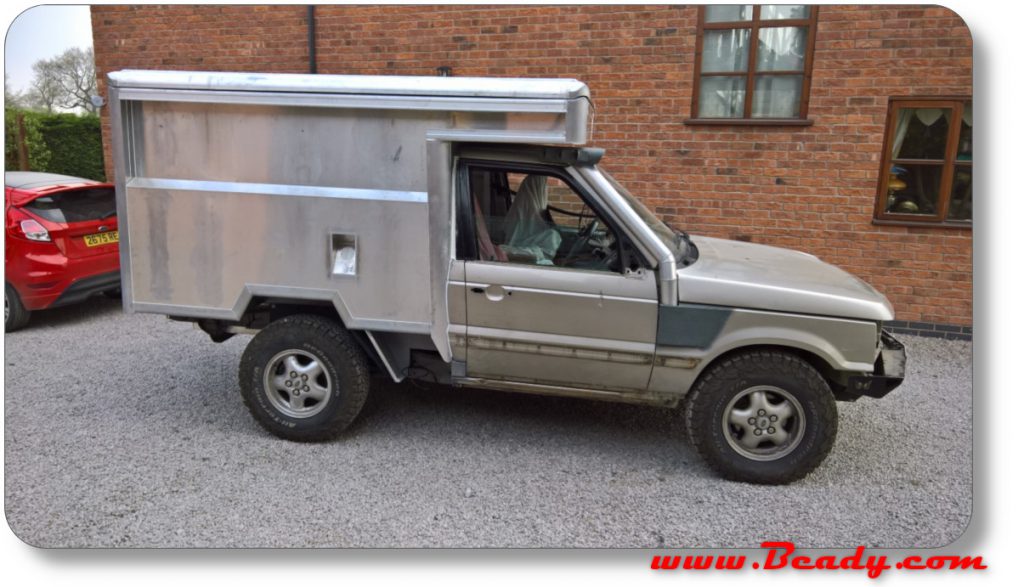
The rear box outer is finished, Chris and I don’t want to see a rivet gun again, but it is very light and Very strong.
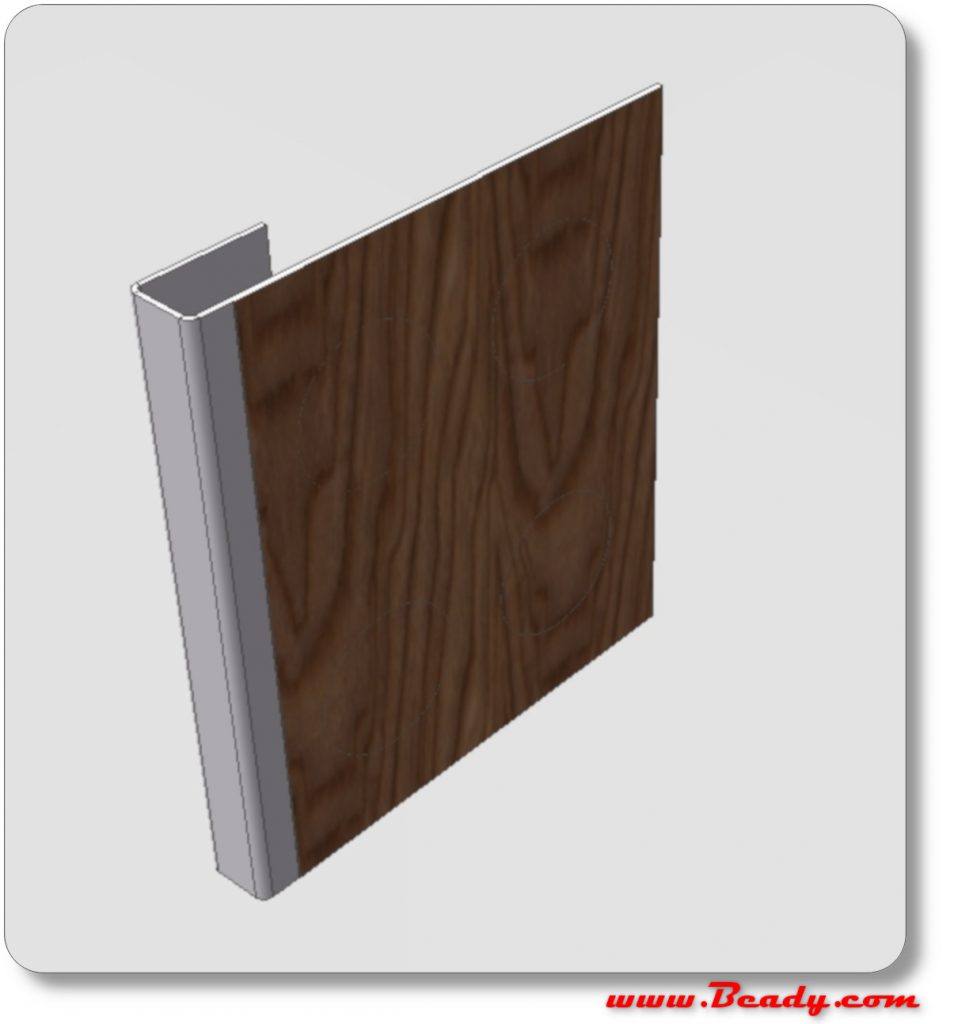
Now to the interior panels, they are aluminium laser cut and bonded with foam and finished with Formica to make it pretty
here are the test panels in CAD , we built these to test the design
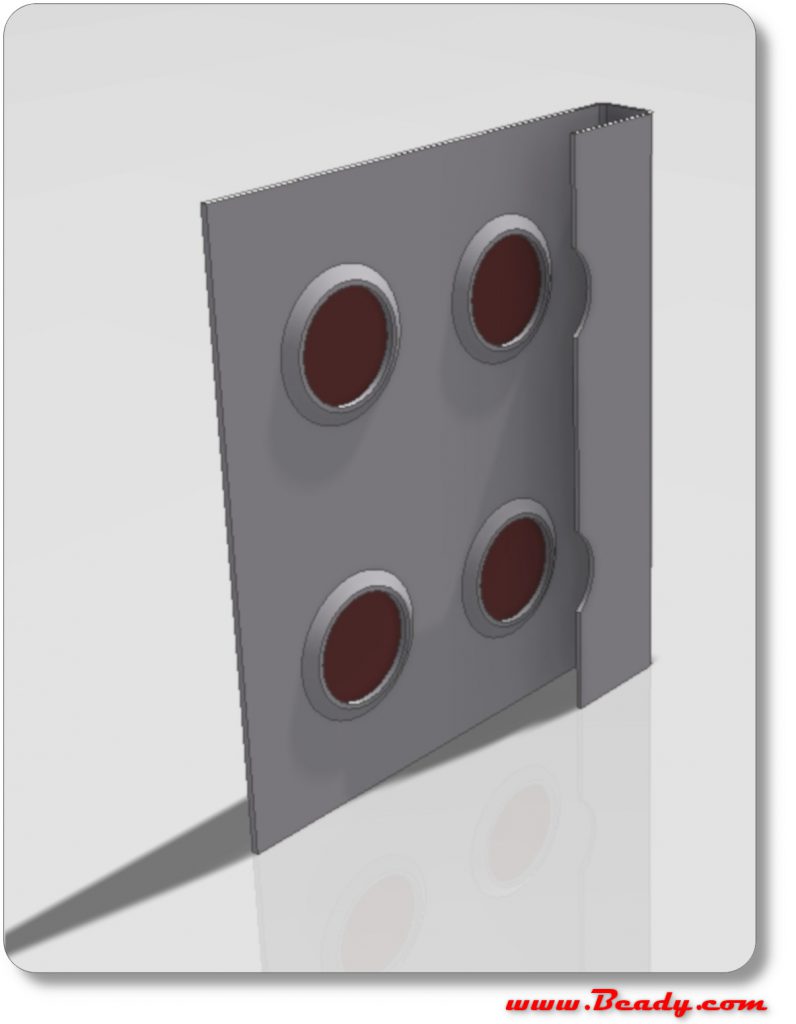
6081 aluminium, Formica and then Polyurethane foam to give rigidity
This is the right hand side cabinets looking from the wall side notice the trays, and the aircraft alloy sliders to save weight, but don’t ask the price
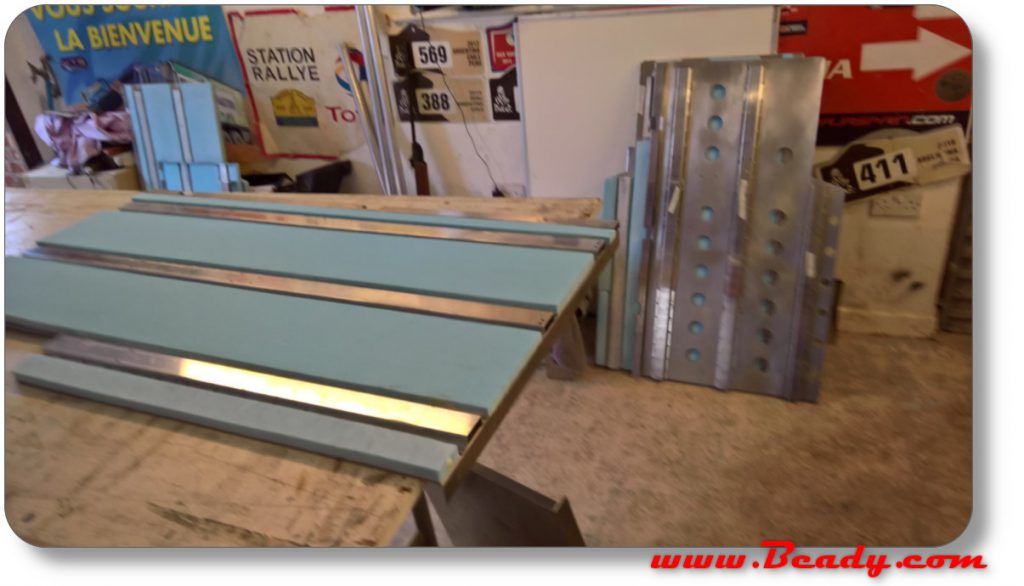
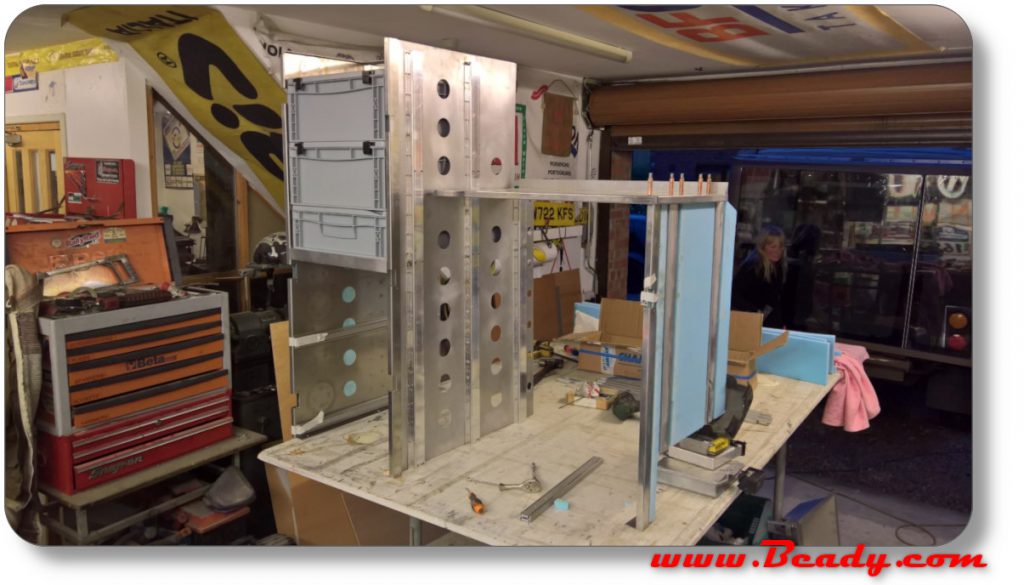
This is the right hand side cabinets looking from the wall side notice the trays, and the aircraft alloy sliders to save weight, but don’t ask the price
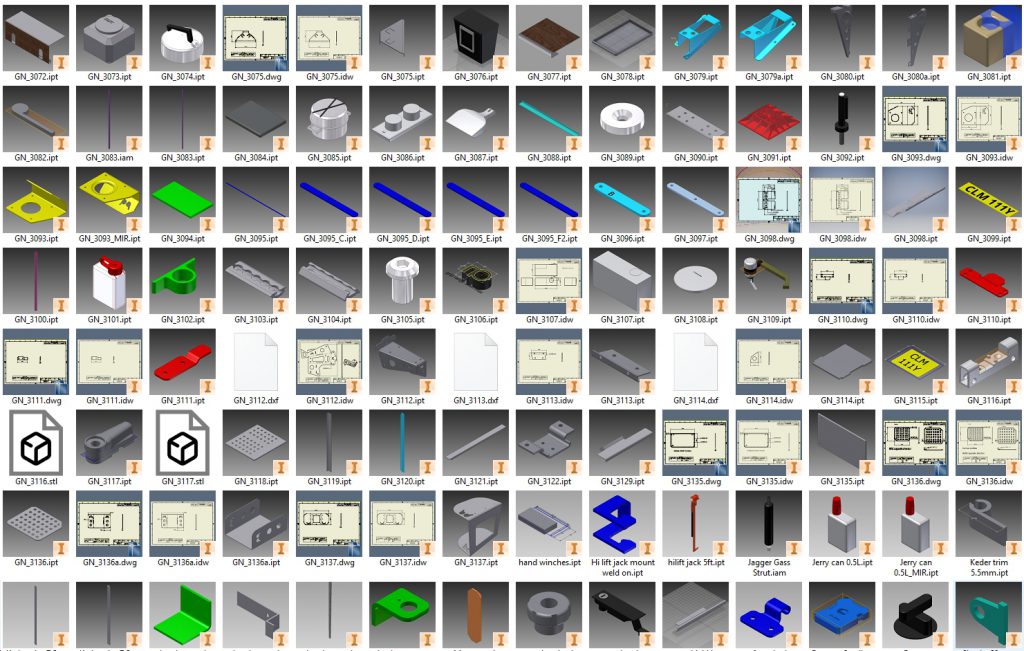
Did I say I CAD modelled everything .. here is a small selection of models, even the cutlery was modelled.
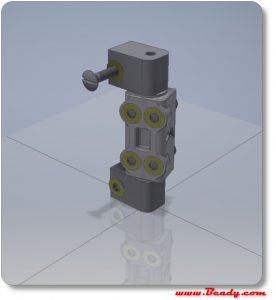
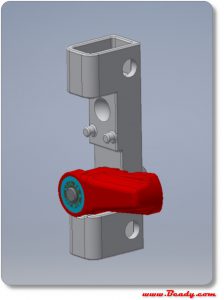
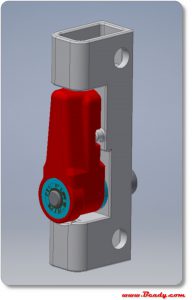
I could not find any hinges or catches to work with the thin light weight units I had designed for inside so I had to 3d print my own design.
This is the door catch, the idea comes from Airliner galley furniture
The cooker CAD model
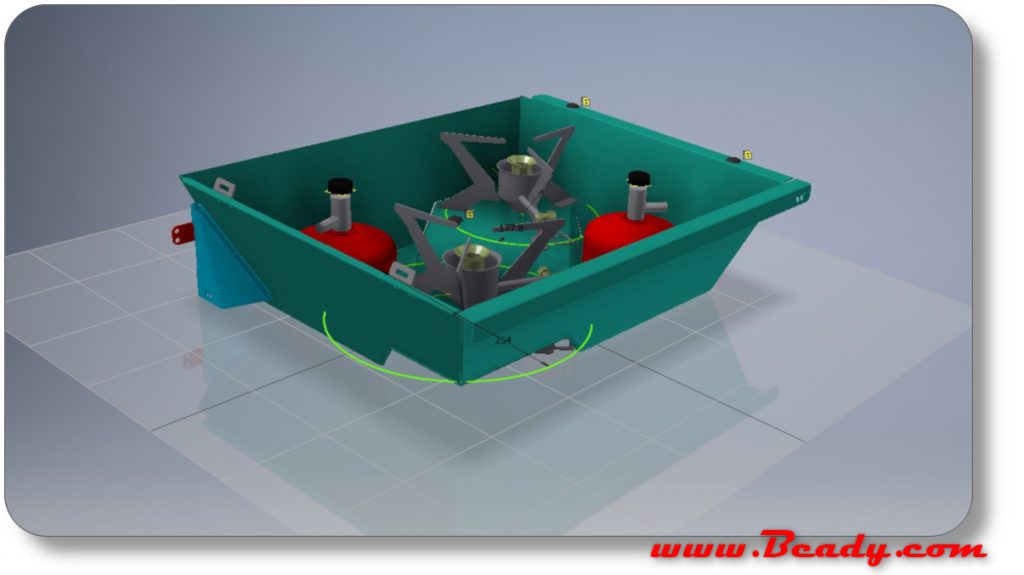
Custom cooker to take 2 x Primus omni-fuel stoves it can be lifted out and hung on the side of the truck.
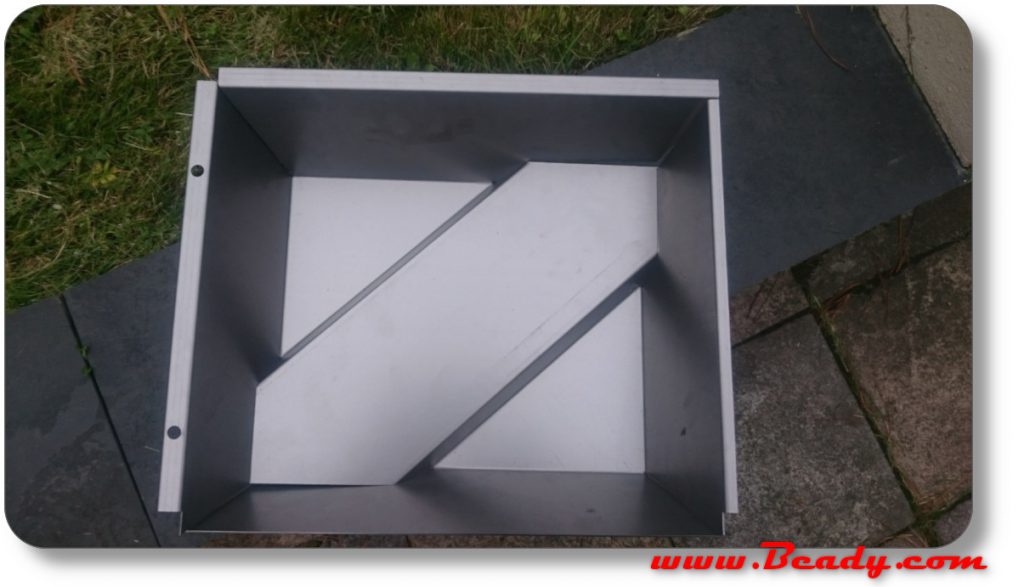
This is a test piece I had done to check my design would bend out of one piece of Stainless steel.

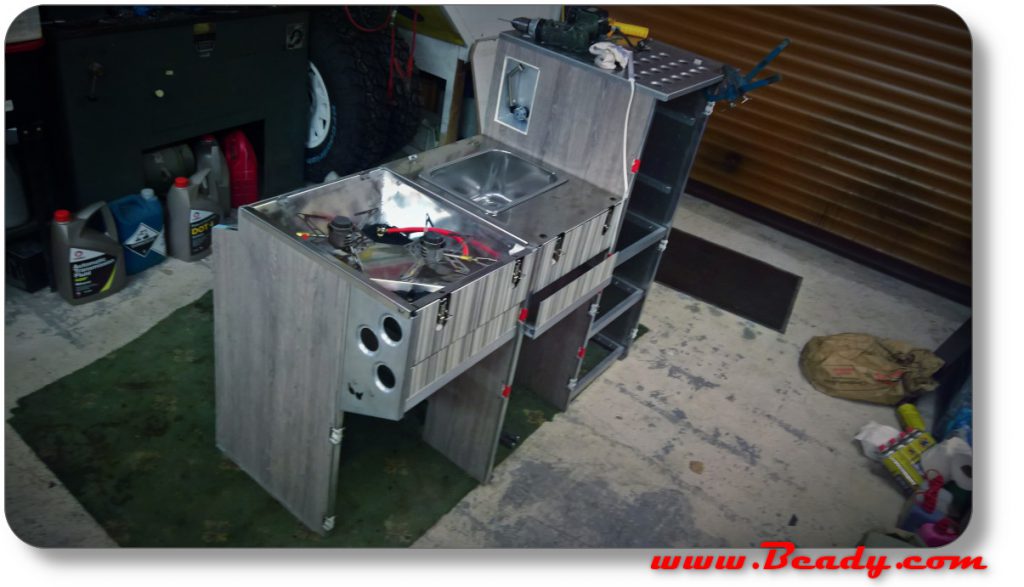
and here’s the finished cooker in the kitchen unit when being test built.
now its time to fit the windows and rear insulation , interior insulation and finally the interior.
