Range Rover Overland camper build diary : part 2
With the engine and wiring sorted we ran it around and offroaded it to test it all worked, before starting on the living part of the body.
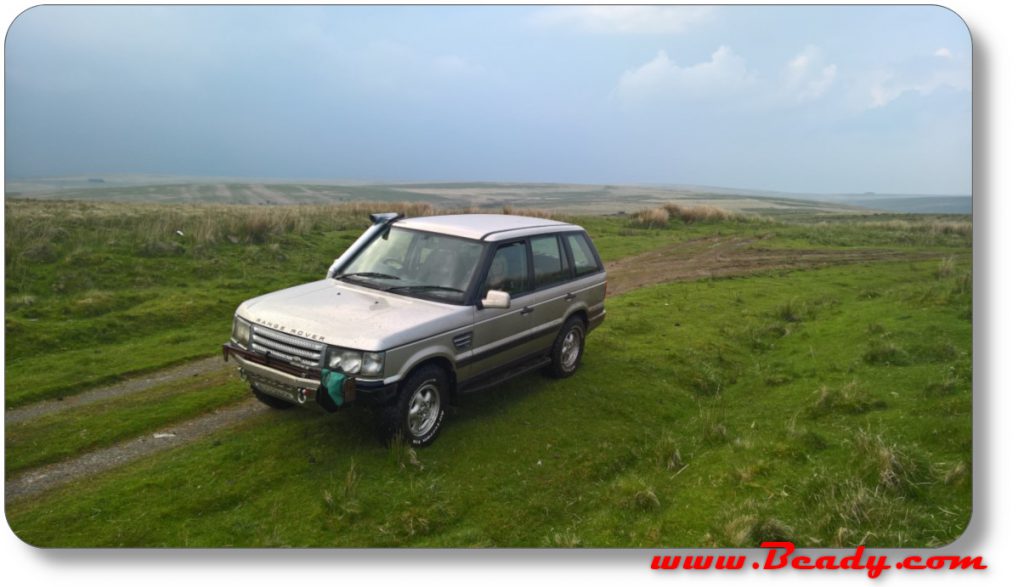
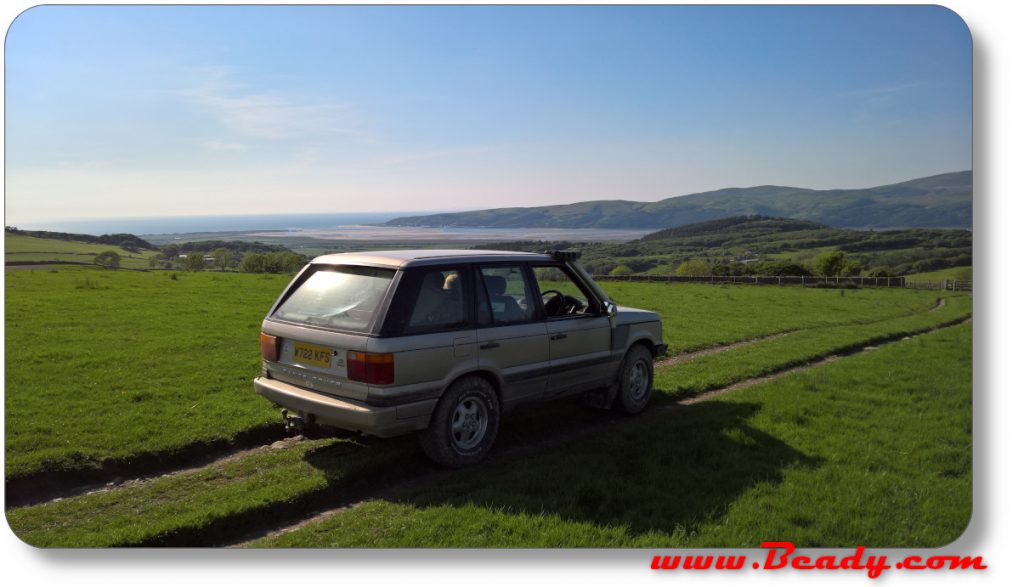
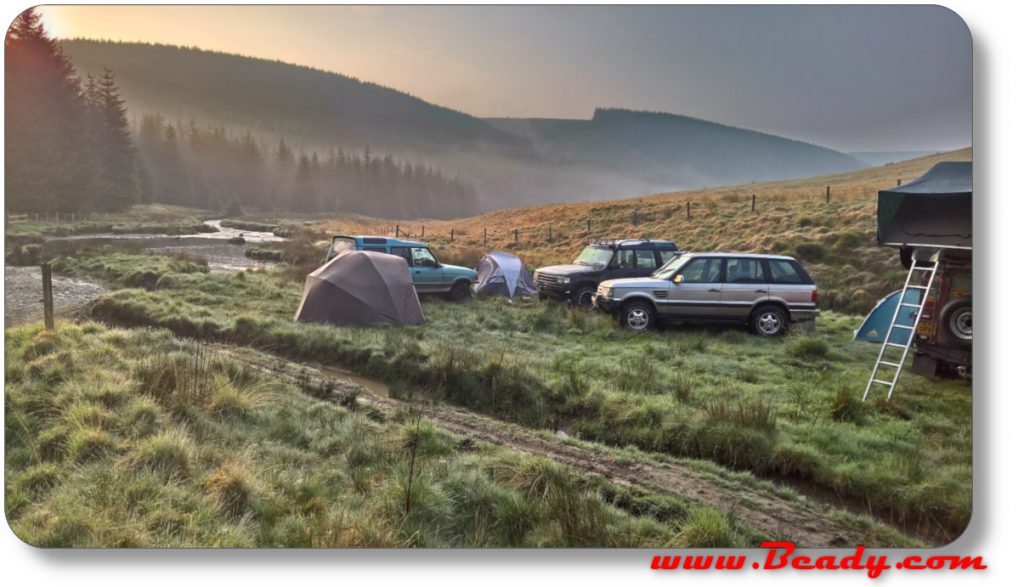
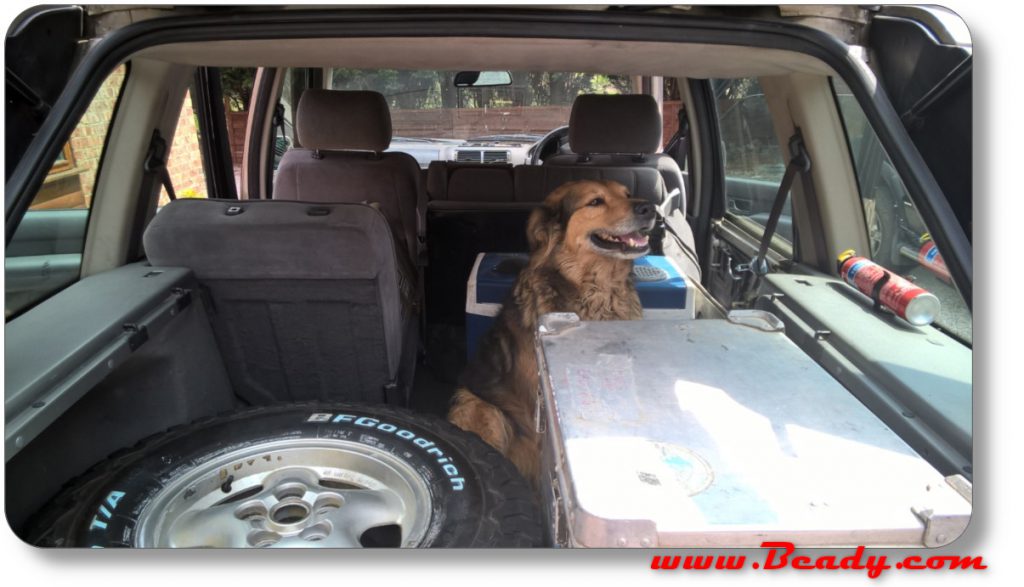
even Bailey the garage dog wanted to try it out
two engines later 😒 dont ask …
we started the camper body build in late 2016.
The CAD model was pretty final but we had to test that it worked in real life, so with the help of some wood roof lath we built a mockup to test.
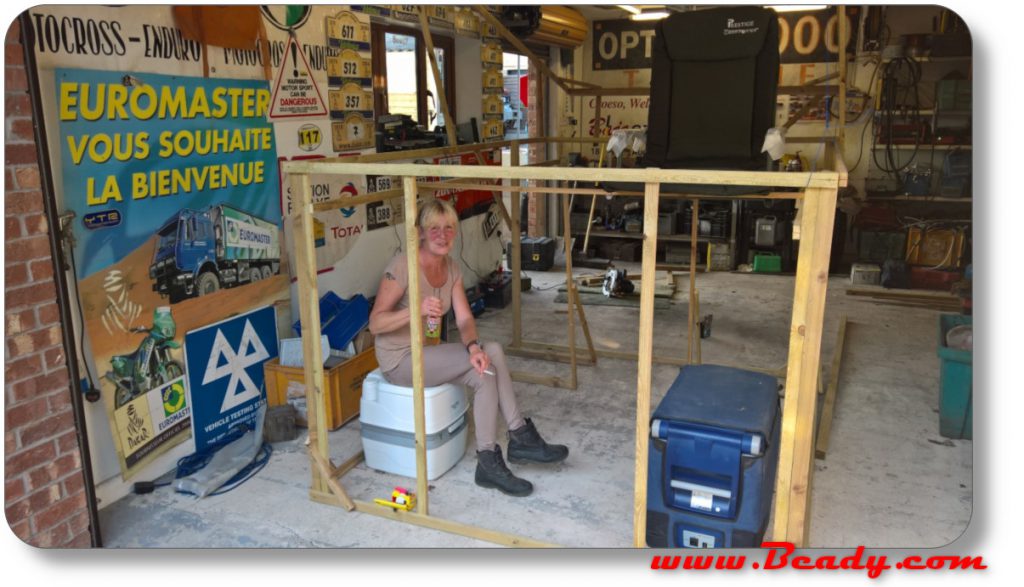
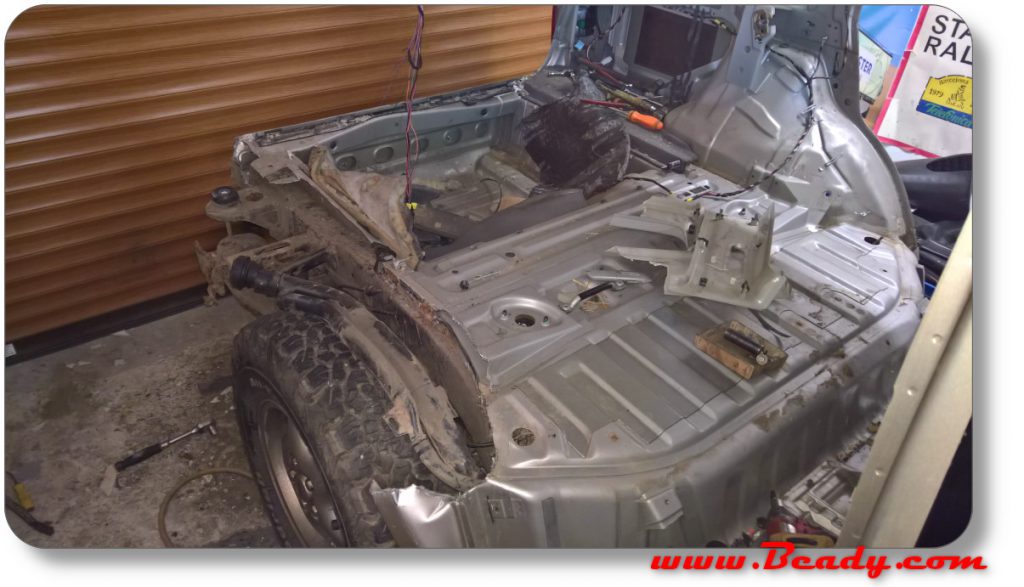
so the long slog of cutting of the rear body began and all the down to the chassis we went.
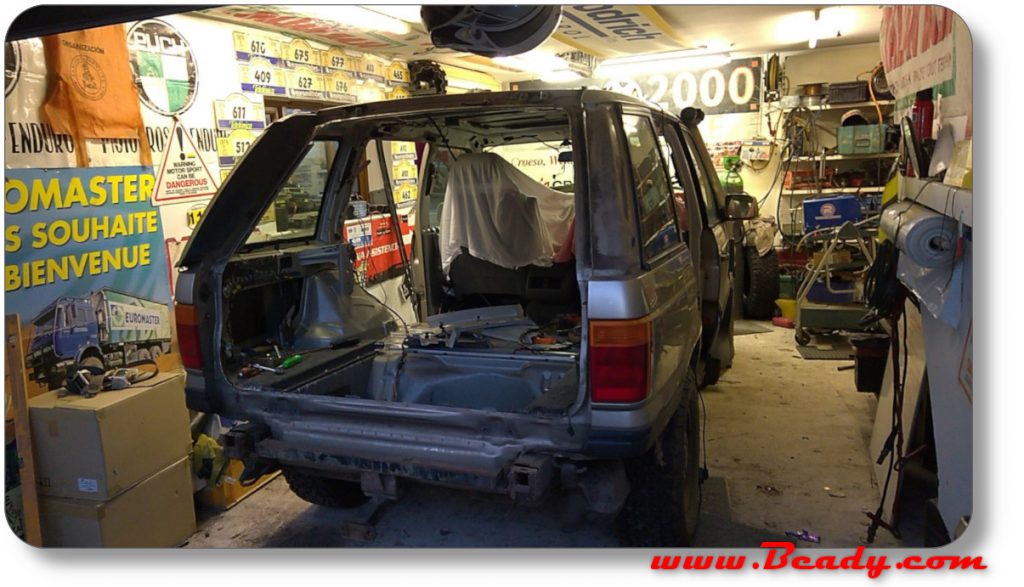
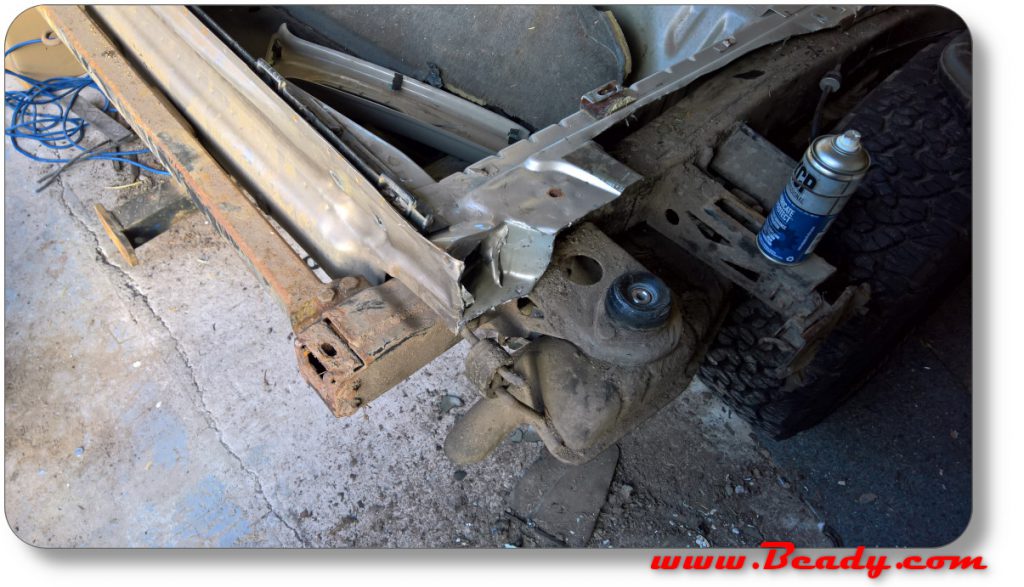
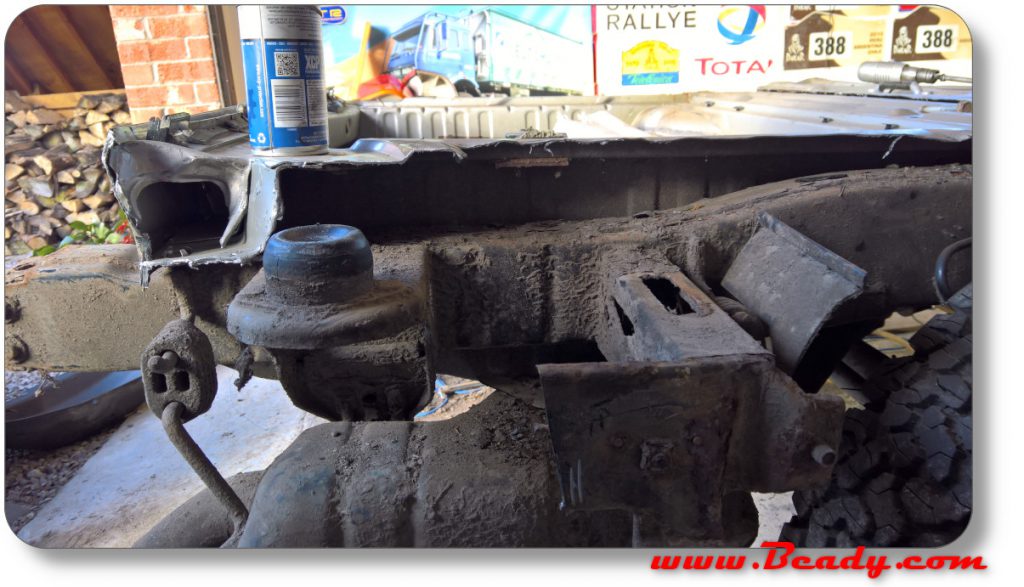
It might be muddy but there is zero rot
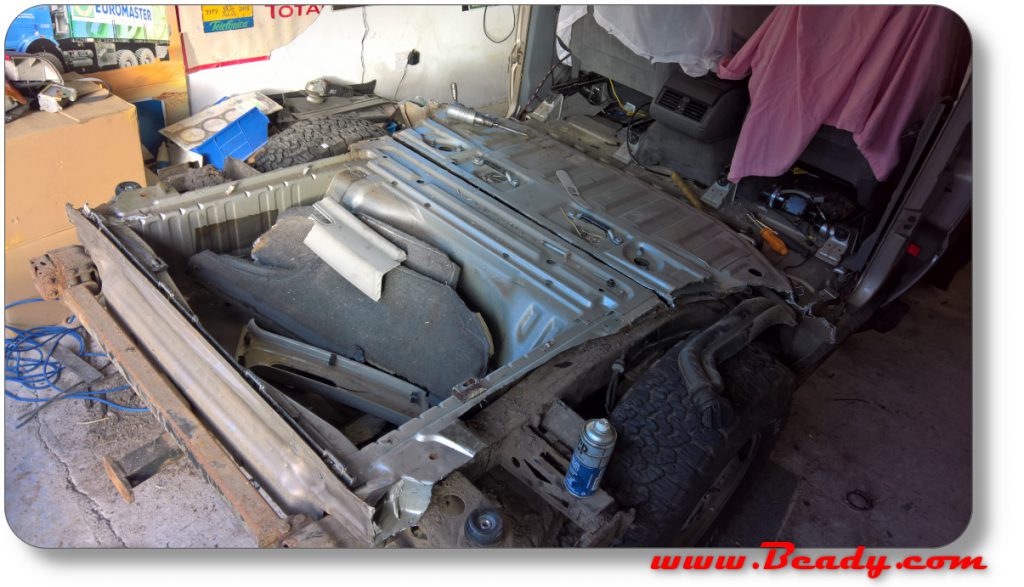
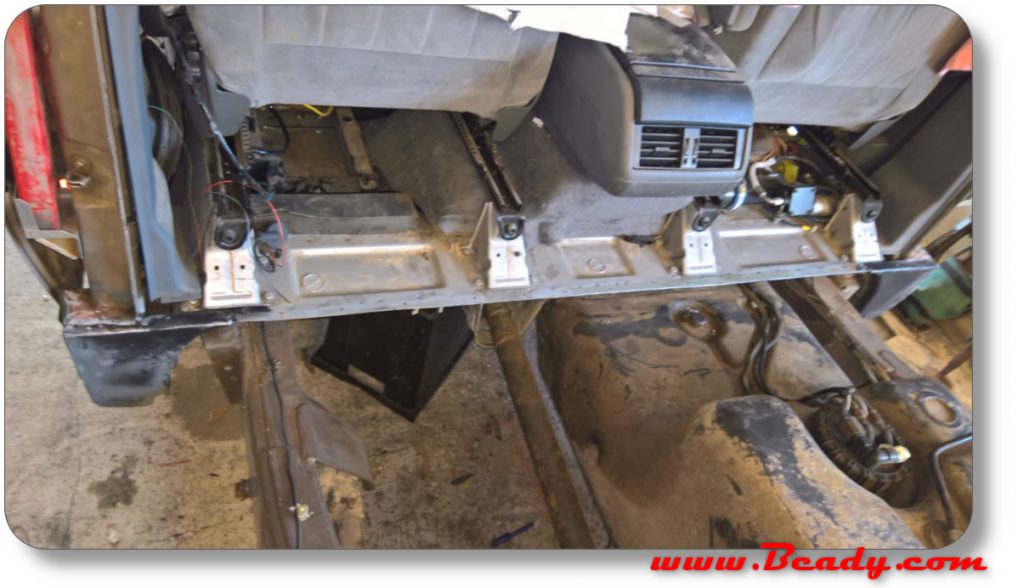
Only the floor pan of the Range Rover left to cut out
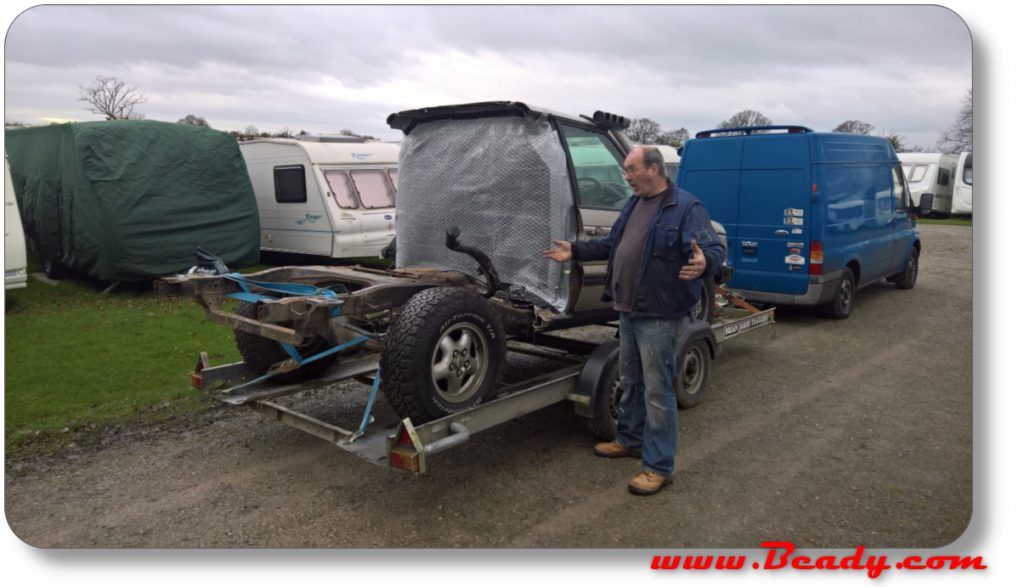
Chris taking it to be sandblasted and painted
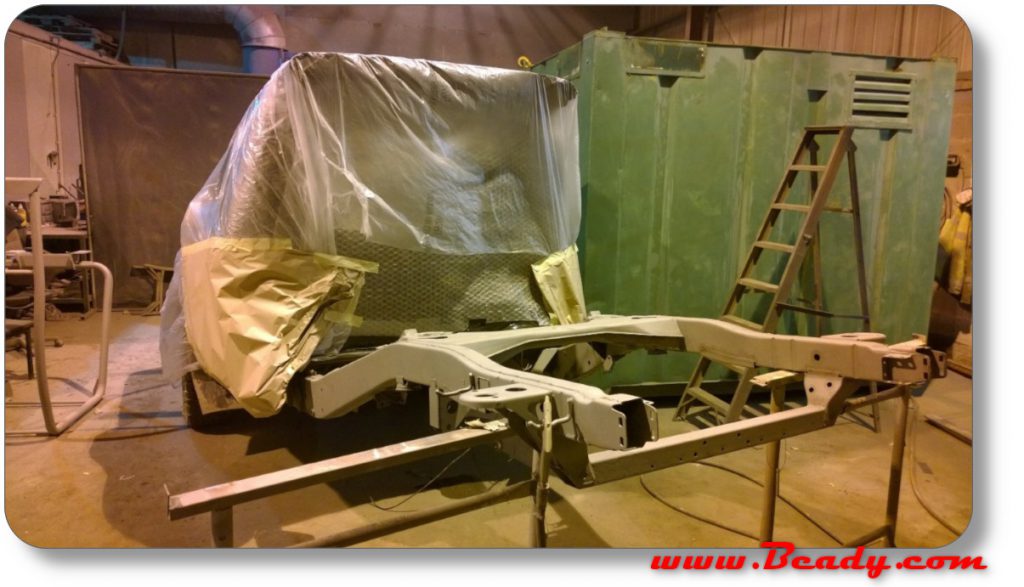
refitting the rear axle after the paint has dried
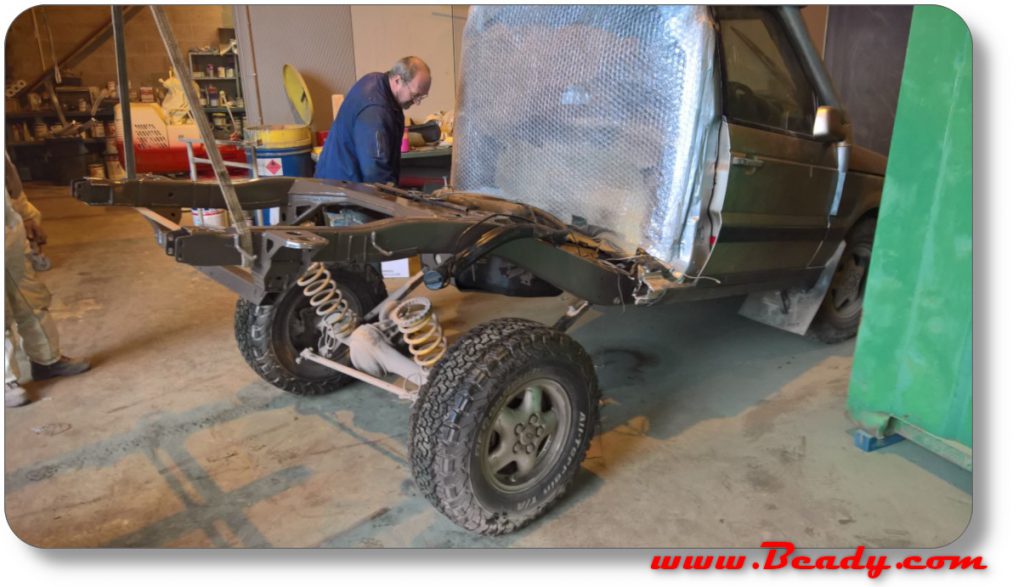
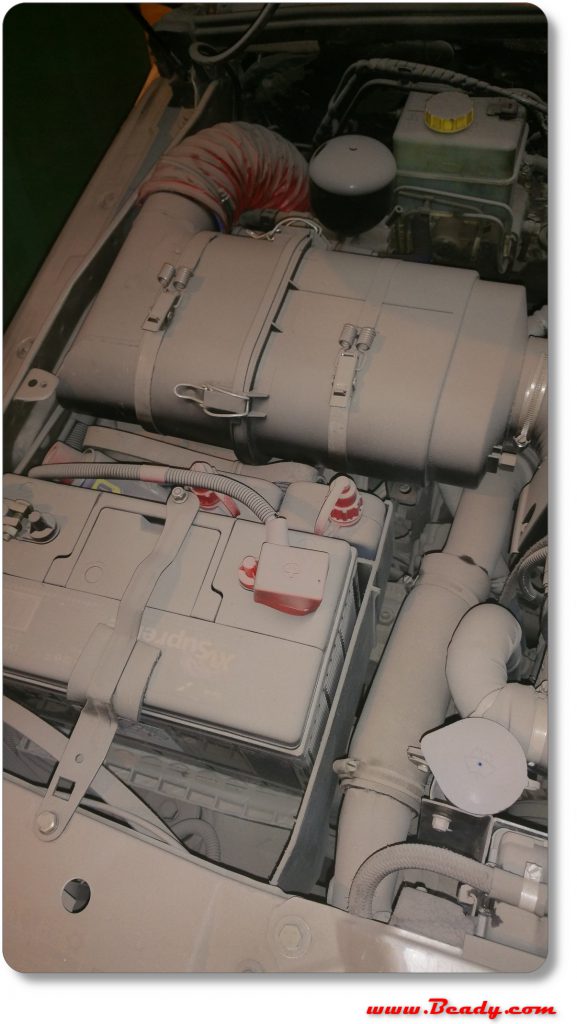
Make sure everything is sealed when you got into the artificial desert of the shotblasters 🙂
The floor cross member is prepared to receive the new alloy rear frame
I decided to remake a ridged monocoque body as the vehicle is short and twisting shouldn’t affect it too much…hopefully.
First we start with the new floor
here is the CAD model
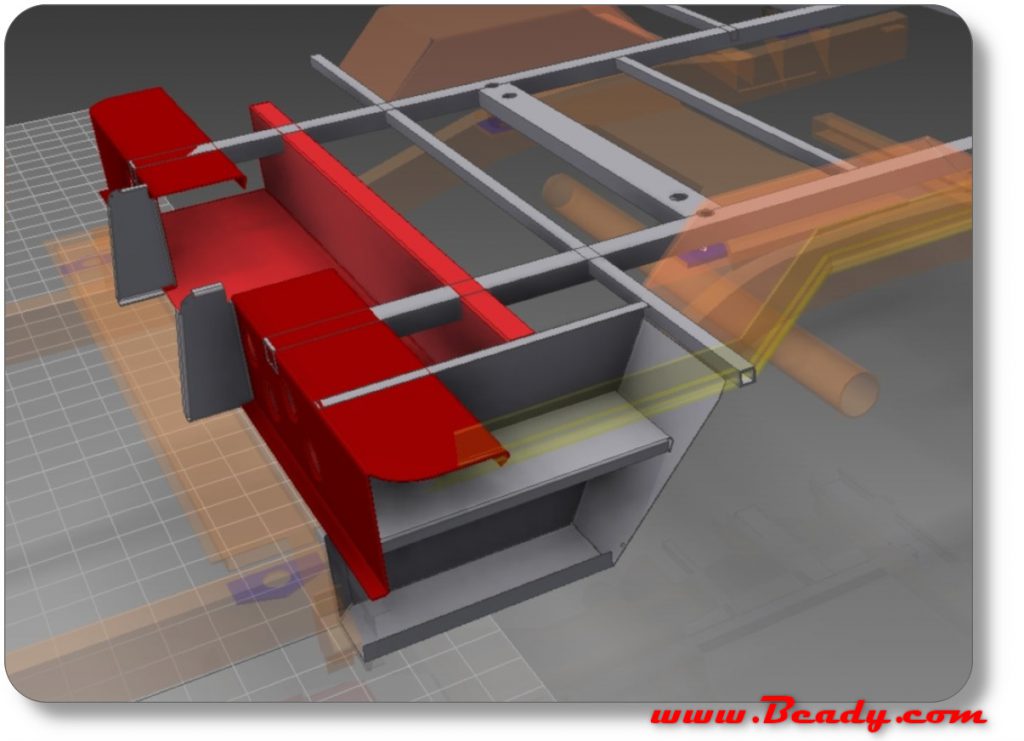
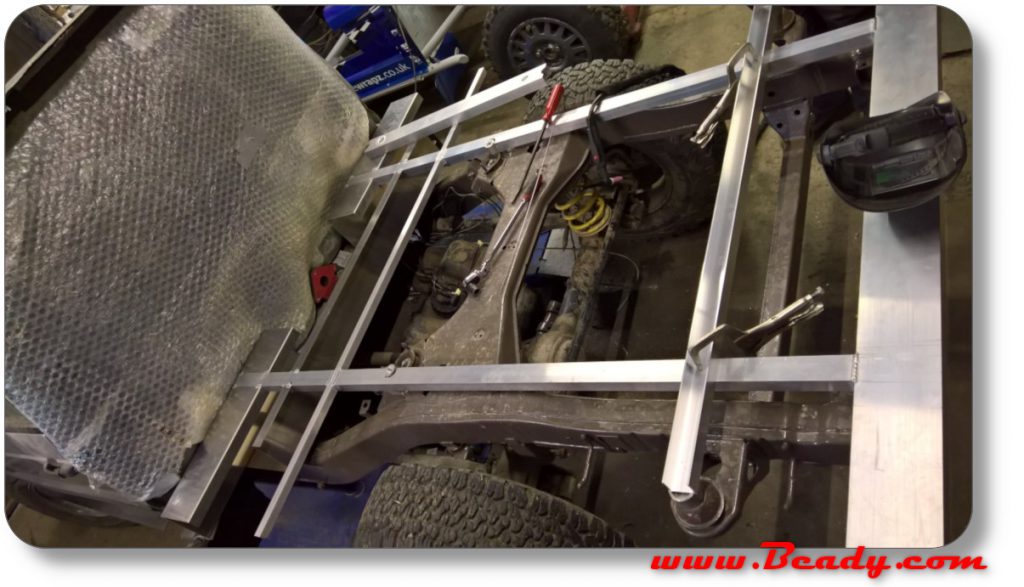
and here it is being made..
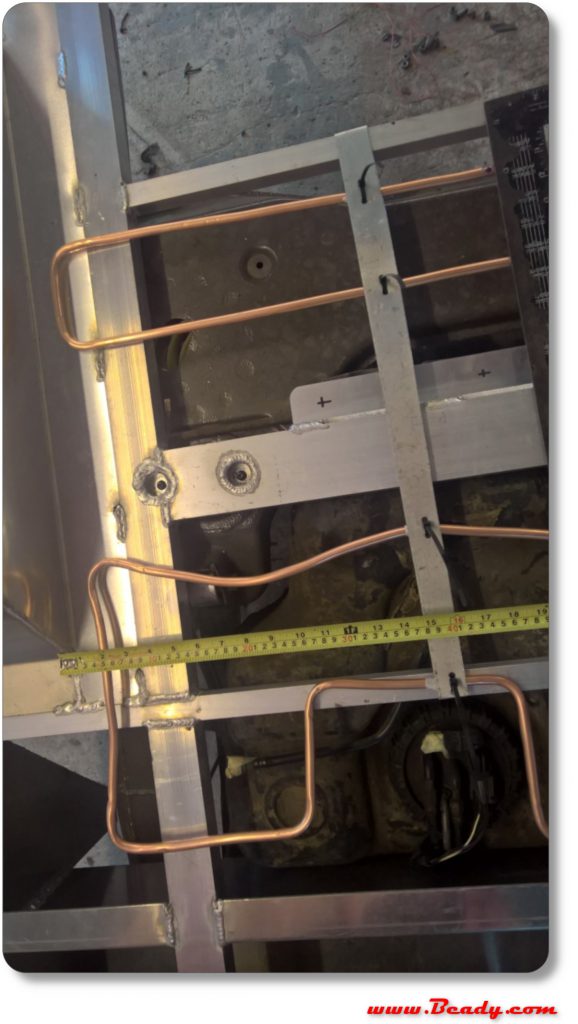
The underfloor heating pipes are made ready to be bonded into the floor.
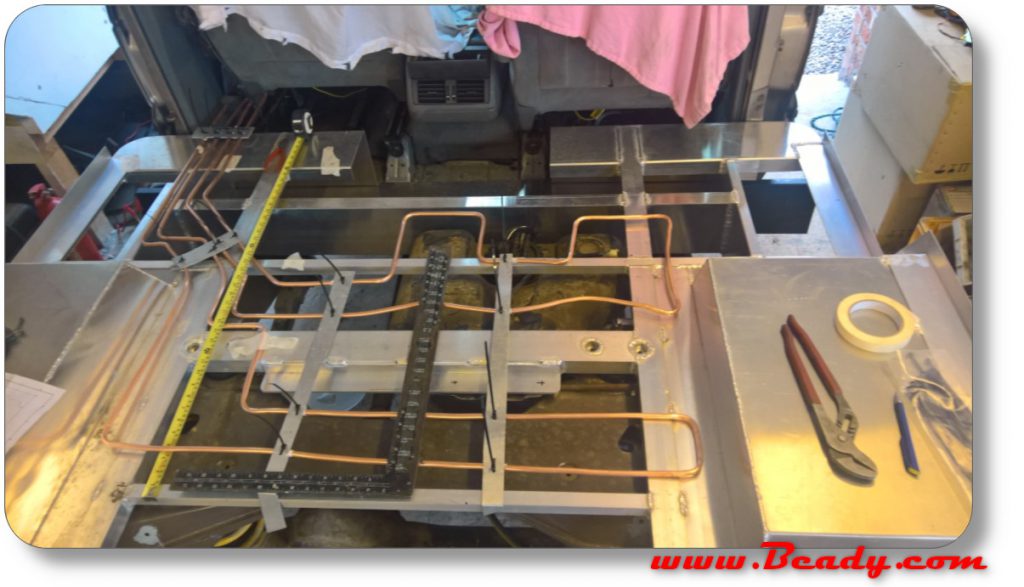
The floor comes back from the manufacturers and is cut down to size
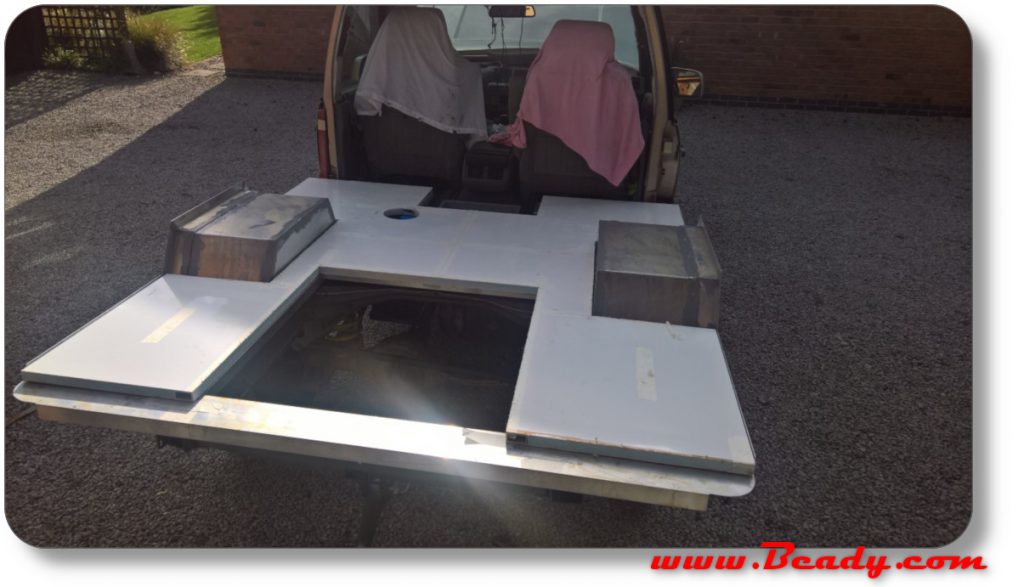
The floor is tested it fits and now off back to Kev’s to fabricate the rear
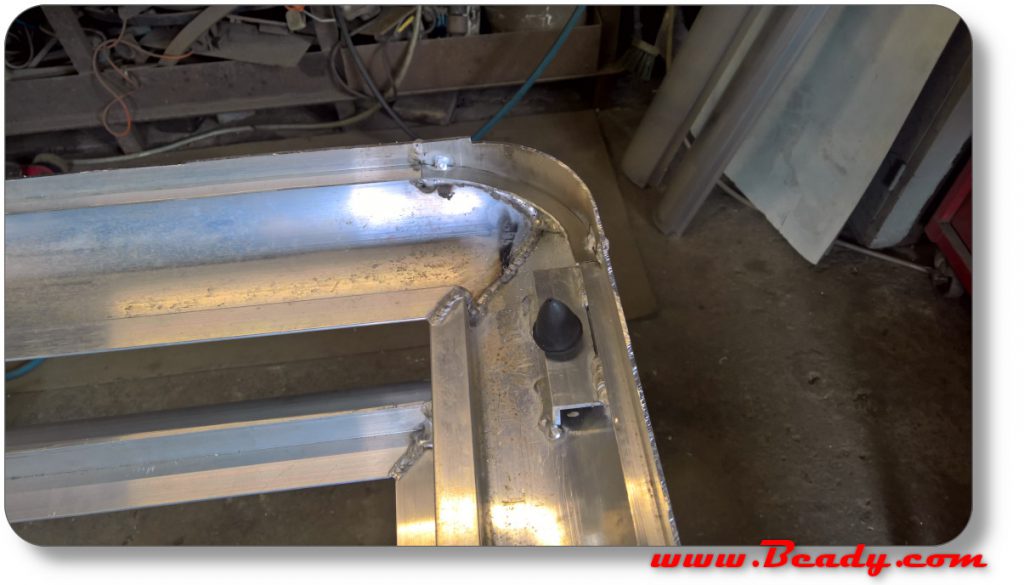
the rubber buffers for the roof pop up to sit on
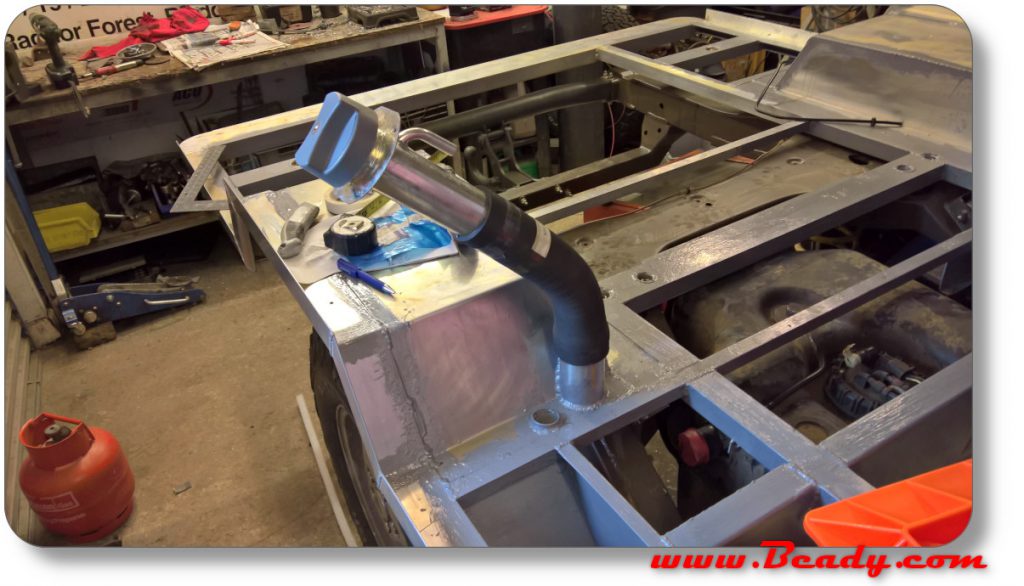
Fuel filler from a defender has a filter and an extending neck to help filling from a can,They are available new from Britpart
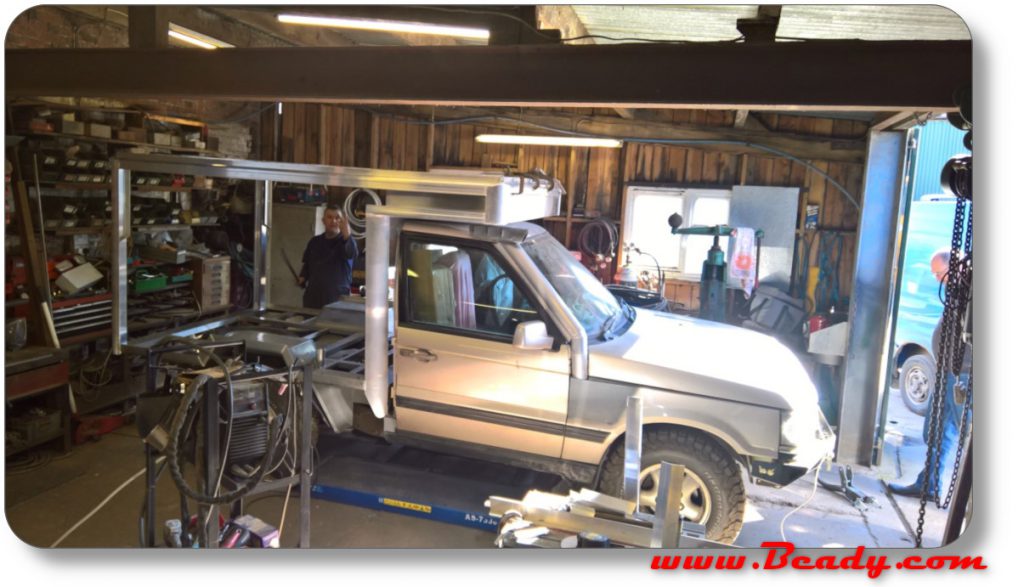
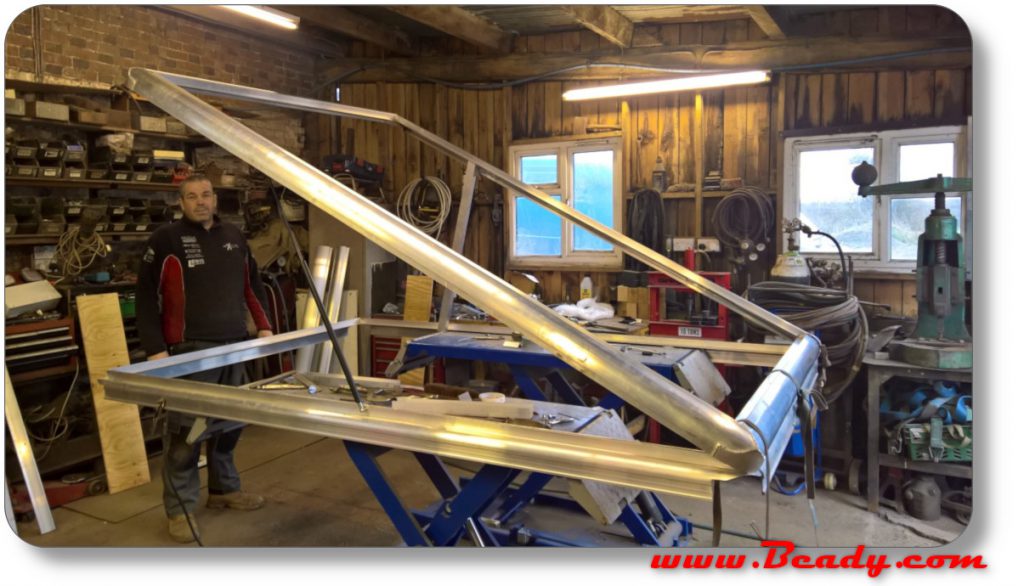
Testing the pop up roof design works, and it does very good and very stable
now it is named the Milk float because it looks like one..
The Body returns to my garage to continue with the panels roof build and the
Congratulations on your work. It’s amazing, thank you for sharing with us.
Thanks Paulo,
It is a great vehicle to convert much better than the defender/classic/Disco style chassis
bd